![]()
Pinterest. You’ve heard of it, right?
I’m pretty sure this is every woman’s “happy place”. The place that we can go to gaze at all the lovely things that we don’t have or need, but desperately want. It’s filled with colorful pictures of outfit inspiration, cool and convenient crafts, humorous memes and videos – there’s even a history section! (As a history major, this option THRILLS ME. Completely serious.) You sit back with your coffee and dream of all the possibilities.
So naturally, when I see something that I feel like I need and could use (and easily make myself), I enlist Joe to make it for me. Hey-oh! Truth be told, my husband is way more handy and crafty than I am. It’s just the truth. So when my extremely cluttered dresser space where I keep my jewelry got a bit too out of hand, I thought to myself “Hey! I need an earring organizer. I know I’ve seen the tutorials around on Pinterest. Easy peasy.”
I searched around and quickly found SEVERAL. I by no means thought up this idea on my own. I just found a couple pictures that I liked and tweaked them to what I wanted. The majority of the frames I saw online were older frames found at thrift stores. I checked out one thrift store but there weren’t many good options there. (Plus I really feel like people now KNOW that old frames can be redone/repainted into a plethora of items and then sold on Etsy for way more than what they are worth – to people who don’t want to actually do the work themselves. AKA me. So, most thrift stores are ALWAYS wiped out in that department I feel like. The days of finding an awesome old frame to repaint are OVER, my friends.)
So, off we went to Michaels.

I picked out a regular large picture frame that I liked (Because ain’t nobody got time to repaint a frame. Come on now.)

Tossed in some chevron burlap for good measure. Just to make it all fancy-like.

(Notice the fall leaves I strategically placed all around the burlap. I did it especially for you. De nada.)
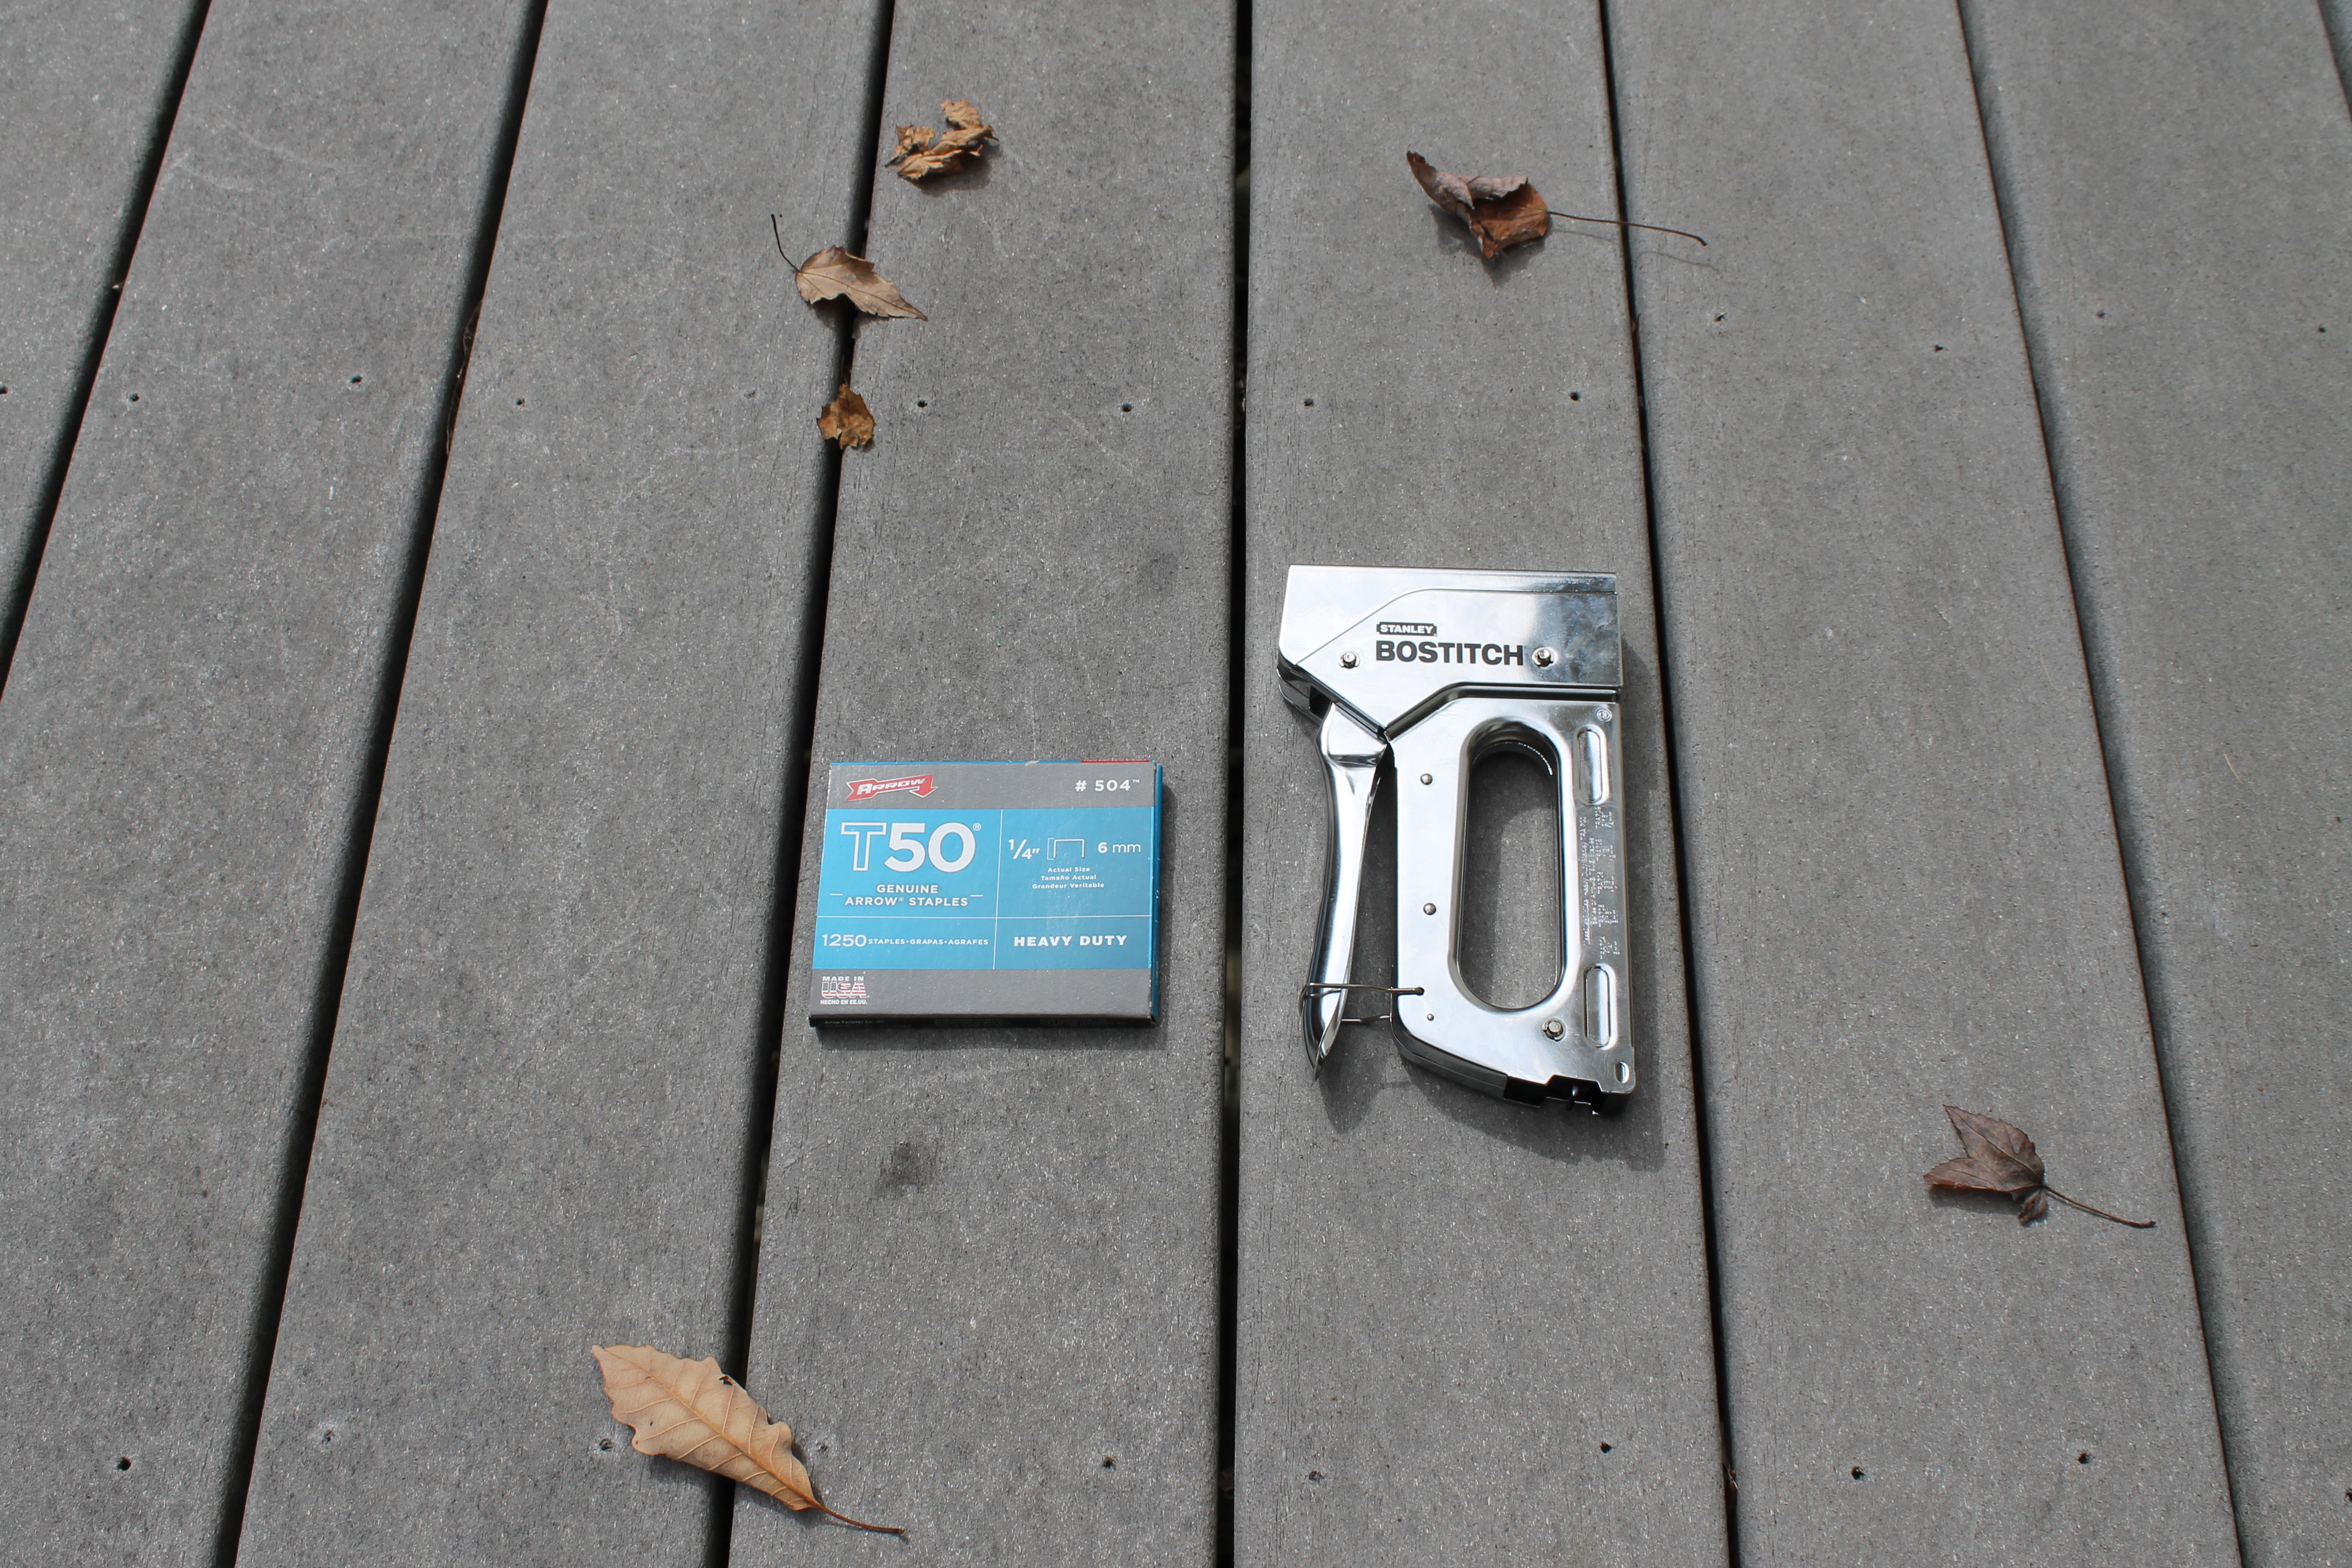
Next hit up Lowes/Home Depot (Whichever tickles your fancy, I’m not picky) and pick yourself up a nice deluxe stapler with some staples + some 1/2 inch square chicken wire.

Next, Joe (obviously) took the glass out of the frame. (I’m sure you could also use that for a ton of stuff. Frisbee? Your choice!) He then cut out the chicken wire to fit the INSIDE of the frame and stapled it in.
(Now, a lot of the earring frames you’ll see on pinterest don’t have anything behind the chicken wire. Some do, some don’t. I just preferred the look, especially if you want to hang the frame up against an ugly wall. Just sayin’. )
Then Joe stapled the chevron burlap onto the back of the frame.

Voila.
I then stuck some Command velcro strips to the back and hung it on the wall. (Side bar: LOVE THESE BY THE WAY. They are awesome. I hang up EVERYTHING with these. As a military family who have to move around/rent every few years, these babies are LIFE SAVERS. I use them to hang up entire gallery walls in my home. Take them down – no marks, no nail holes to cover up, nothing. Couldn’t recommend them enough.) Then hung up my earrings. Boom. Done.
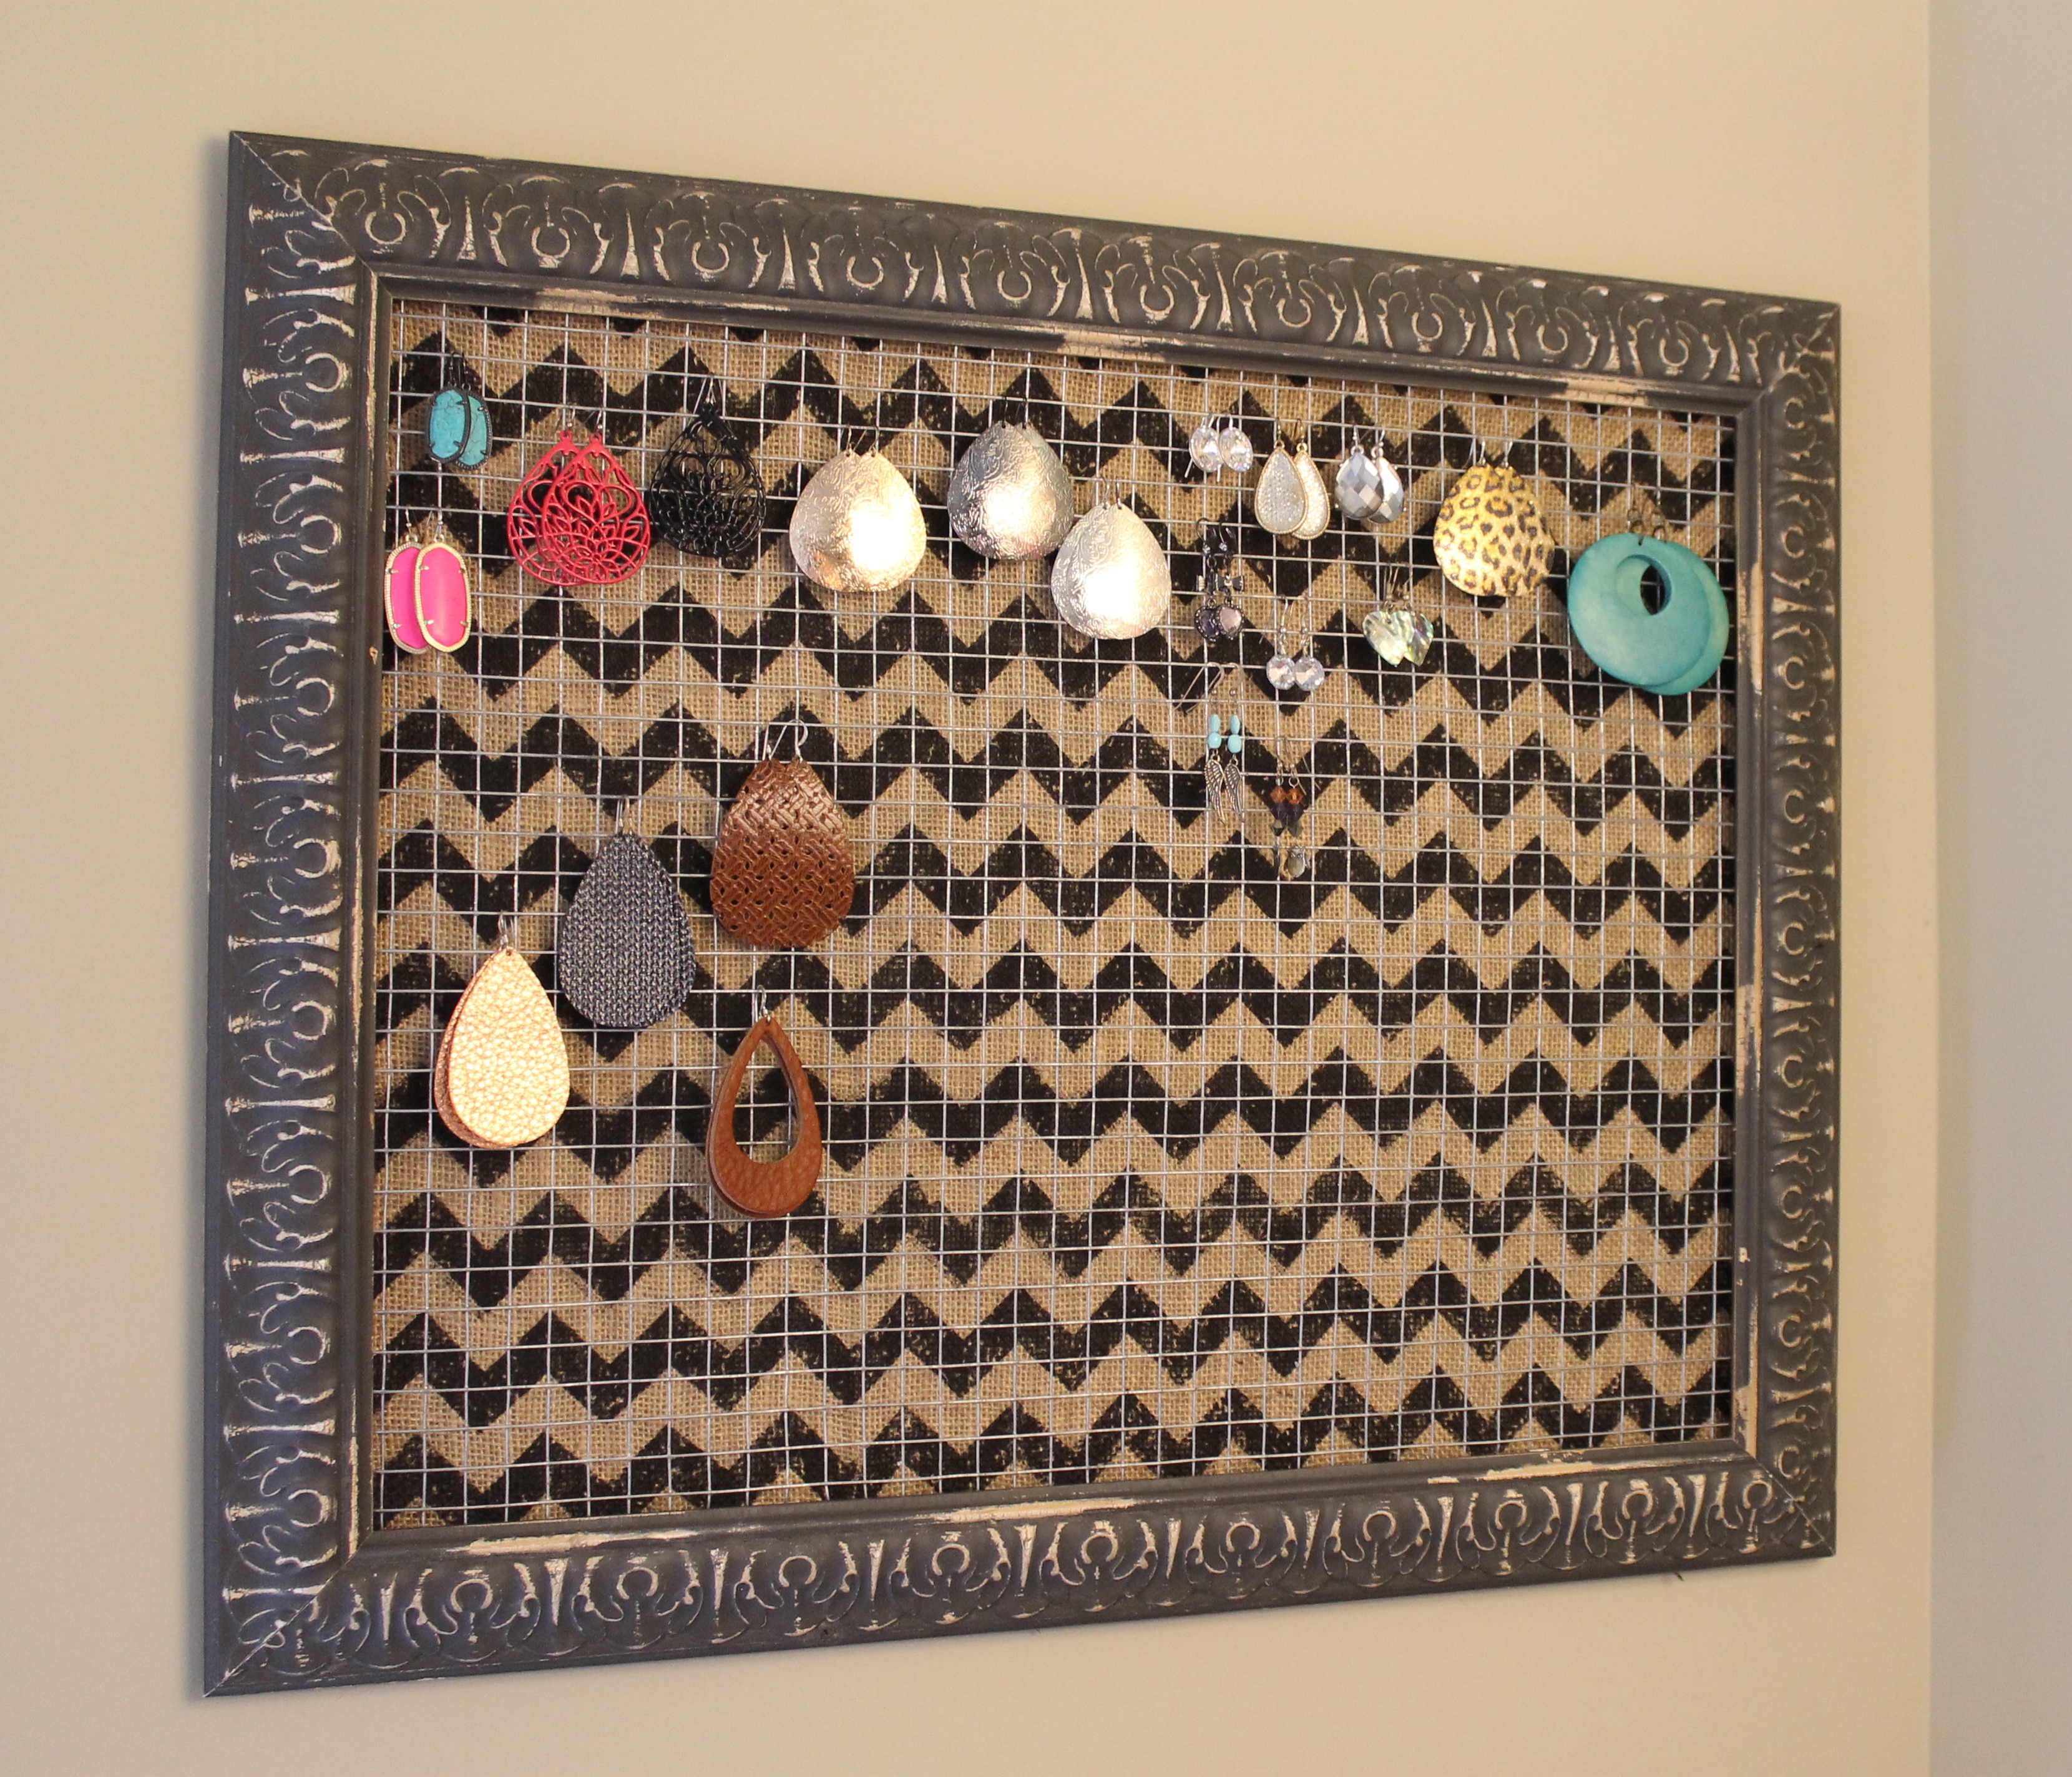

I know. Obsessed. Can’t even handle it.
So this was clearly the worst DIY tutorial EVA but I never claimed to be Martha Stewart either, so there you go. 😉
Happy Tuesday!

I’m afraid of how large my wife would want the frame to be if I made one of these. Ha!
LikeLike
Haha! That was another problem with all the pre-made frames that I found on Etsy – they were all too small! 🙂
LikeLiked by 1 person
This is a great idea though. We have one wall in our bedroom that doesn’t have anything on it, but desperately needs something. Any thoughts on how to hang ones that don’t have the hook on the back?
LikeLike
Referring to earrings with no hooks, you mean? The 1/2 inch chicken wire is probably still too big to hang stud earrings, but there was 1/4 inch chicken wire that could possibly work for studs. I just keep my stud earrings in a generic jewelry box but another idea would possibly be to create the same type of frame but with a cork board, rather than a picture frame. Add some burlap to the front of the cork board to dress it up & then stick your stud earrings onto it. It could work!
LikeLiked by 1 person
Good idea. I might try and make a small box and cover it in fabric or paper that I can hang or fasten to the chicken wire. Thanks!
LikeLike